
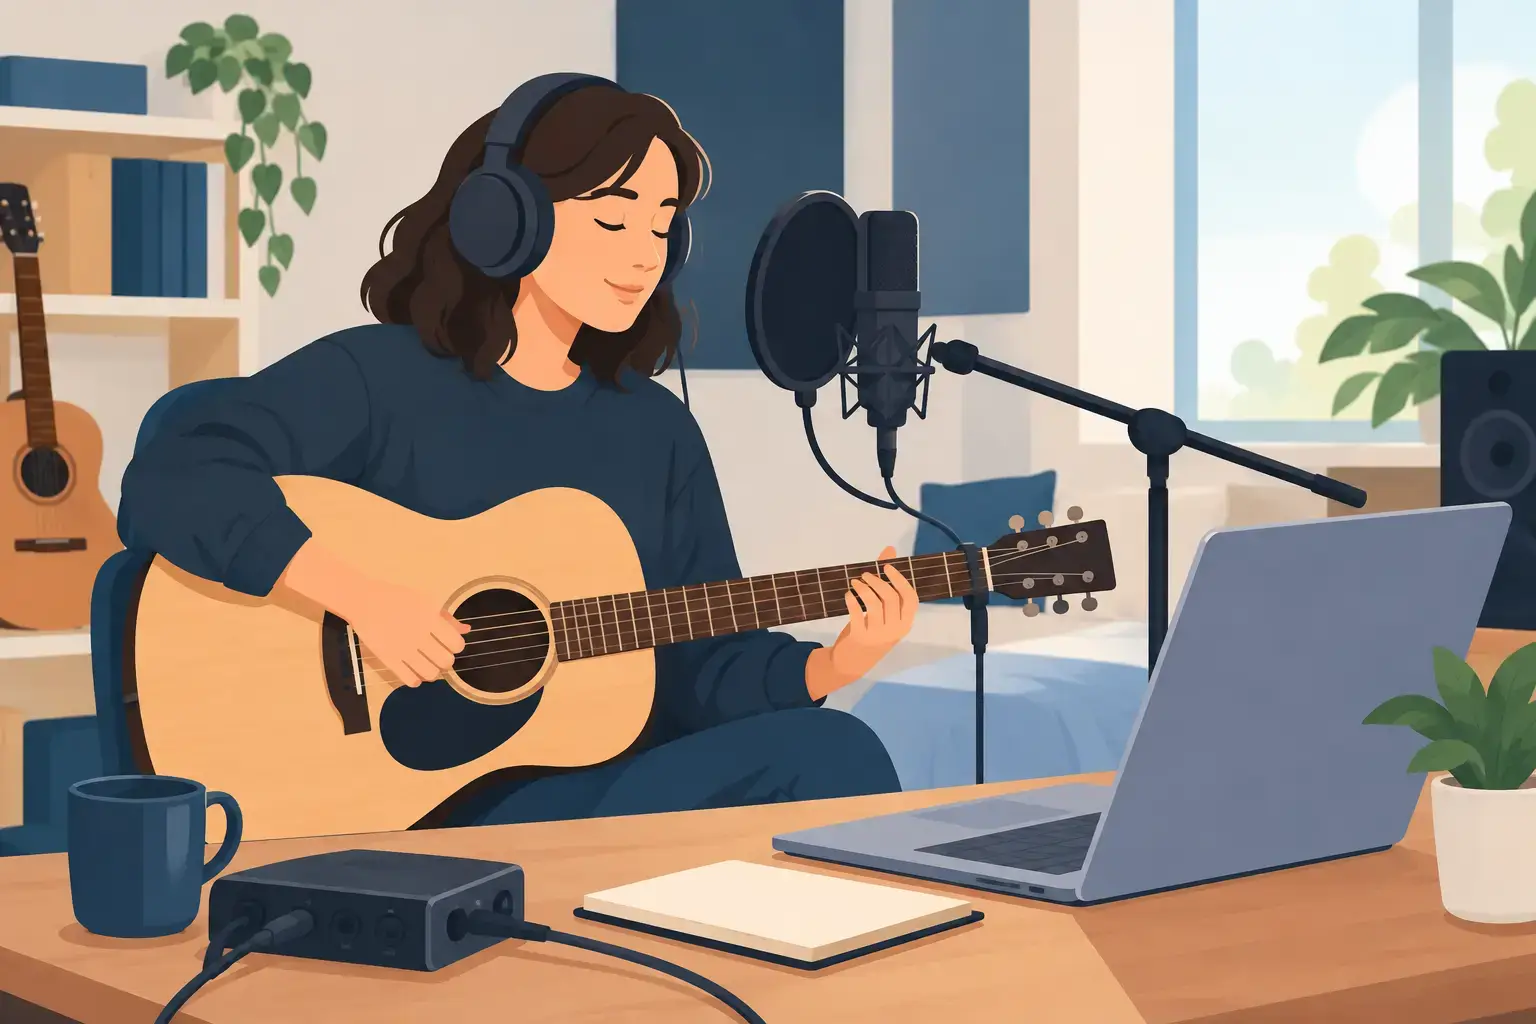
Your first home song recording does not need a fancy studio, a wall of gear, or years of experience. It needs a song you care about, a quiet place to work, and a simple plan for turning an idea into something you can proudly play for friends and family. For young musicians, adult beginners, and returning players, recording at home can be one of the most motivating ways to hear real progress.
The first playback can feel a little surprising. You may notice a guitar rhythm that rushes, a vocal phrase that needs more energy, or a piano part that sounds even better than you realized. That is not a reason to get discouraged. It is valuable feedback, and every take helps you become a stronger musician.
Start Your Home Song Recording With One Clear Goal
Trying to record a full album on day one is a fast way to lose momentum. Pick one achievable goal instead. Maybe you want to record yourself singing with piano, build a guitar-and-vocal cover, capture an original song, or make a drum track to share with your band.
A clear goal helps you decide what to record first and what can wait. A simple acoustic song may only need one instrument and one vocal. A rock song with drums, bass, multiple guitars, and harmony vocals has more moving parts. Both can be fun projects, but they call for different levels of planning.
Before pressing record, make a quick song map. Write down the intro, verse, chorus, bridge, and ending. Note where the dynamics should grow or pull back. If you are recording an original, decide which lyric or melody is most important. Your recording does not have to be perfect, but it should communicate the feeling you want listeners to hear.
Create a Space That Helps You Hear Clearly
You do not need a professionally built recording room to make music at home. You do need to pay attention to noise and echo. Choose the quietest available room, turn off fans or loud appliances when possible, and close doors and windows before you begin.
Hard, empty rooms can make vocals sound distant or harsh. A bedroom, closet, or living room with rugs, curtains, furniture, and bookshelves often sounds more controlled because soft materials absorb some reflections. For a vocalist, standing near hanging clothes or thick curtains can make a noticeable difference.
Do not record in a completely uncomfortable spot just because it is quiet. A singer who feels tense will usually sound tense. Find a setup where you can stand or sit with good posture, keep water nearby, and perform naturally. Comfort supports confidence, especially for younger students who are still getting used to hearing themselves recorded.
Keep the gear simple at first
A phone or tablet can capture a useful demo, especially when the goal is to practice timing, remember a songwriting idea, or share progress with an instructor. When you are ready for a clearer sound, a basic USB microphone, headphones, and recording app can be a great next step.
If you play electric guitar, bass, or keyboard, you may eventually want an audio interface to connect directly to your computer or tablet. That gives you more control over tone and volume. Still, gear should serve the music, not become a distraction. A well-practiced song recorded simply will usually connect more than an unfinished song surrounded by expensive equipment.
Practice Before You Record
Recording is a performance skill. It is normal to play a song well in practice and then suddenly feel nervous when the record button turns red. The best solution is not endless retakes. It is preparing with purpose.
Play through the song several times without stopping. If you make a mistake, keep going. This builds the ability to recover, which matters in recordings and onstage. Then practice the sections that consistently cause trouble. A tricky chord change, breathy lyric, or drum fill often gets better faster when you isolate it for a few focused minutes.
Use a metronome or backing track whenever timing matters. Many home recordings feel messy not because the players lack talent, but because each part was recorded with a slightly different pulse. A steady click track can feel awkward at first, yet it makes layering instruments much easier.
For singers, warm up before recording. Gentle humming, lip trills, and easy scales can help your voice feel ready. Avoid pushing for high notes right away. Clear, expressive vocals come from healthy technique and good breath support, not from forcing extra volume.
Record in an Order That Makes Sense
Most songs are easier to build from a foundation. Start with a tempo guide, drum loop, metronome, or simple rhythm guitar or piano part. Then add the parts that support it, such as bass, lead guitar, harmonies, or percussion. Save lead vocals for a moment when you know the song's energy and shape.
If you are recording only voice and piano or voice and acoustic guitar, you have a choice. Recording both at once can capture a natural, live feel. Recording them separately gives you more control if one part needs another take. Neither approach is automatically better. It depends on whether the song needs raw energy or polished detail.
Give yourself more than one take, but set a reasonable limit. Three to five focused takes often produce better results than recording the same verse 25 times. After too many attempts, musicians can become overly critical and lose the spark that made the song special.
Listen back after each take and choose one specific thing to improve. Maybe the chorus needs stronger diction. Maybe the guitar needs to be softer under the vocal. Maybe the final note needs to ring longer. Small, clear adjustments build a better track without making the process feel overwhelming.
Make Your Recording Sound More Like You
Editing can clean up a recording, but it should not erase personality. Leave in a little breath, pick noise, or natural movement if it makes the performance feel real. The goal is not to sound like a machine. The goal is to help the listener hear the song clearly.
Start with volume balance. Can you understand every word? Does the lead instrument support the vocal rather than compete with it? Is the bass or drum part too loud? Adjusting levels is often more helpful than adding a long chain of effects.
Use effects with a light touch. A little reverb can give vocals warmth and space. Too much can make them blurry. Gentle compression can make a performance more even. Too much can make it feel flat. Trust your ears, take breaks, and listen again later with fresh perspective.
It also helps to play your track on more than one device. Headphones may reveal details that a phone speaker misses. A car stereo may show that the vocal is too quiet. You do not need to chase perfection across every speaker. You are learning how music translates from one listening space to another.
Let Recording Build Performance Confidence
Home recording is not only about creating a file to post online. It teaches musicians to listen closely, prepare songs fully, handle mistakes, and make artistic choices. Those are the same skills that help students walk onto a stage with confidence.
Parents can make recording especially positive by praising effort and growth, not just a flawless result. Ask what your child likes about the take. Let them choose between two versions. Celebrate the courage it takes to share music, even when the performance is not perfect.
At Matt Burk Music Studio, students can bring recording goals into their lessons, whether they are working on a first vocal cover, an original song, or parts for a band performance. An encouraging instructor can help identify what to practice, improve technique, and turn a rough idea into a song that feels ready to share.
Your first recording is not a final test of your talent. It is a snapshot of where you are today and a reminder of where your music can go next. Pick one song, press record, and give yourself permission to learn out loud.